Get Your Soil Tested
While it may seem trivial, soil testing is perhaps one of the most important steps for maintaining a sustainable landscape while also protecting the health of our lakes and streams.
For many of us, fertilizing our lawn is done on autopilot—twice a year, with an application in spring and another in fall. However, many soils in the Midwest already contain enough phosphorus to support a healthy lawn. One way to find out for sure is to do a soil test. Soil tests can help you understand what nutrients (like phosphorus) are present in the soil and if additional nutrients need to be applied.

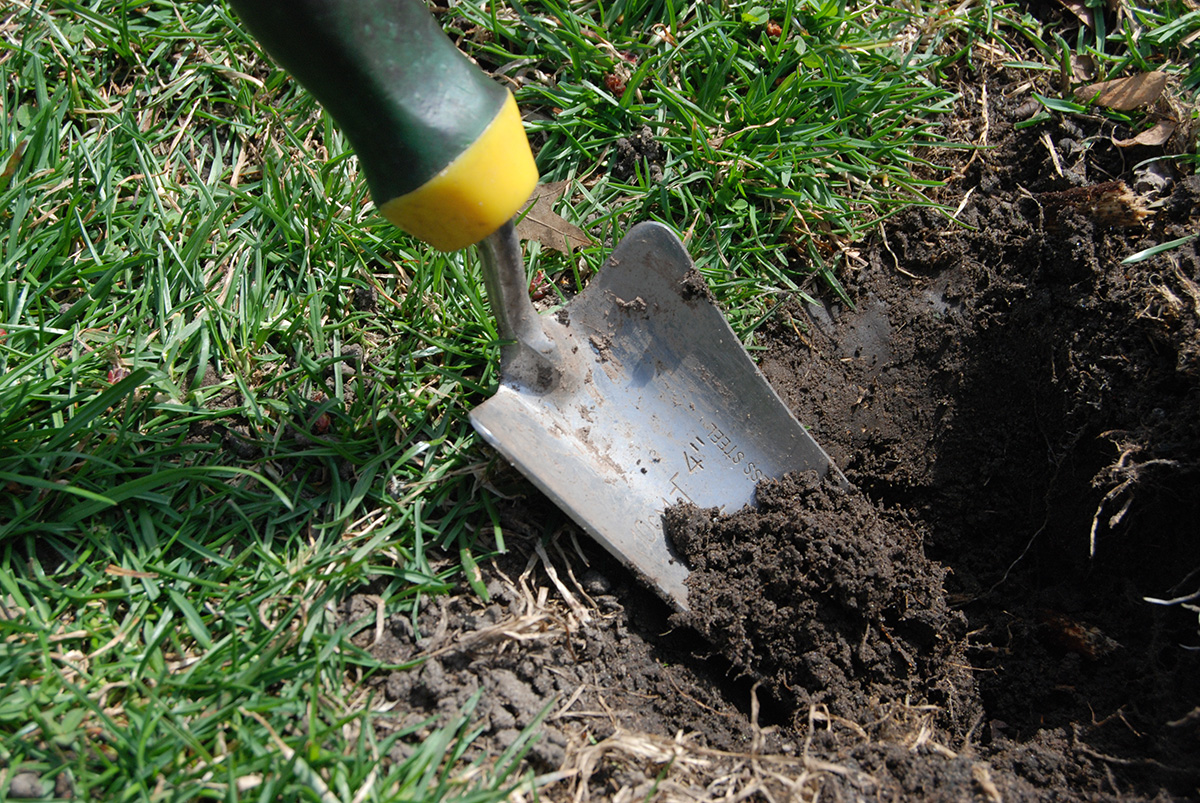
Testing your soil is the best way to ensure it is healthy. | Photo Credit: Janice Milanovich, Illinois-Indiana Sea Grant
Why take a soil test?
- Save money long-term.
- Discover lawn problems.
- Maximize lawn care efforts.
- Protect the environment.
It is recommended that you test your soil every three to five years, or more often if working to correct an issue. Always test prior to a new planting or renovation. Trouble spots should be tested separately.
- Inexpensive, commercially available, at-home test kits are not accurate.
- Choose a certified lab that will give you recommendations for needed amendments. You can contact your local university extension office for further help interpreting results.
- Test costs range from $10-65, depending on specific test requests and whether testing materials are provided.
When sampling your lawn, you will likely need to collect soil from a depth of 3-6 inches at no more than 10-15 random sites. Remove any vegetation or large debris, break up clumps, and dry at room temperature. Mix into one, homogenous sample. You will send about a cupful to a lab for analysis. Be sure to follow any specific instructions from your selected lab.
The videos below will give you more information about how to collect soil and take a soil test, as well as what to do with your test results. Visit the Soil Testing Labs Map when you’re ready to select a lab.


